It's annoying when a car light goes out. However, if you disregard it, you could endanger your safety and run afoul of the law.
Previously, we explored the top signs your car headlights need replacement and shared some tips to replace your car headlights. Today, we’ll talk about something even more practical—how to carry out a DIY headlight installation step by step.
Installing headlights on your car doesn't require you to visit a garage. You can complete it on your own with just a few tools and the right instructions.
Do you want to try it? Let us help you with a DIY headlight installation guide.
Why DIY Headlight Installation Matters?
It's tempting to ask our mechanic for everything, big or small, regarding your car. But sometimes, you cannot and need to do it yourself. And it is never a bad idea.
So, in case you are trying to save some cost, just get started.
Keep in mind that driving with burnt-out, flickering, or dim headlights is not only impairs visibility but is also prohibited in many places and carries penalties. DIY headlight installation benefits you in the following ways:
-
Save Costs: For labour alone, mechanics frequently charge $50 to $150, but bulbs usually cost much less..
-
Improve Safety: You can spot dangers sooner with clear, bright beams, especially at night or in bad weather.
-
Gain Flexibility: Replacing them yourself gives you the freedom to choose whether you want to upgrade to LED auto headlights or stick with halogen headlights.
-
Build Confidence: Transferable do-it-yourself car maintenance skills are offered by a beginner headlight replacement tutorial.
Options To Consider For Your Car Headlights
Before you learn how to install car headlights yourself, consider your options.
Knowing what kind of headlights your car can accommodate is important before installing. One of the following is commonly used in modern cars:
-
Halogen Headlights for Cars: These are the most widely used, reasonably priced, and easy to replace. They use halogen gas to heat a tungsten filament in order to produce light. Duration: approximately 450–1,000 hours.
-
LED Auto Headlights – growing in popularity because of their superior brightness, long lifespan (up to 20,000 hours), and energy efficiency. However, for LED headlight installation on older models, resistors, adapters, or housing modifications might be needed.
-
HID/Xenon: Exceptionally bright, often found in luxury vehicles, they are less popular for do-it-yourself projects because they require ballasts and specialised installation.
Tools and Preparation Checklist
Preparation is essential, but most do-it-yourself replacements only require simple tools:
-
A complete assembly unit, or a new headlight bulb or bulbs.
-
Phillips and flathead screwdrivers.
-
Socket and ratchet set.
-
Protective gloves (to prevent bulbs from being damaged by skin oils).
-
Cloth made of microfiber.
-
Refer to the owner's manual.
-
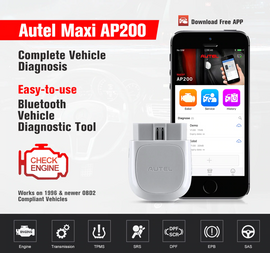
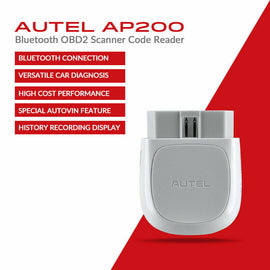
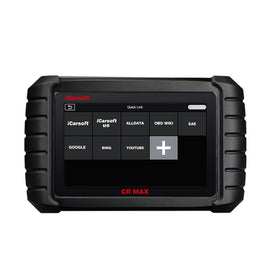
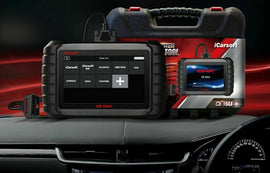
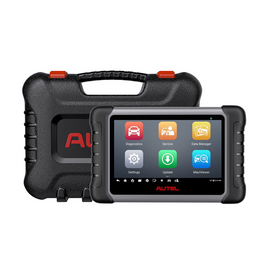
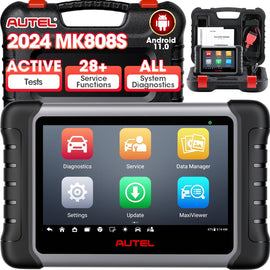
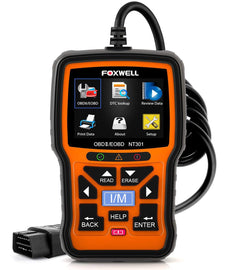
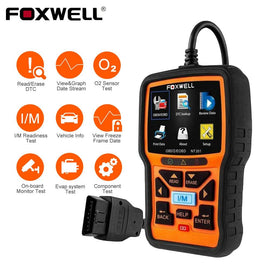
Optional but preferable: The best car diagnostic scan tool is useful for determining whether electrical issues were the cause of the malfunction. A diagnostic scan tool for Australian cars guarantees compatibility with your car's systems if you're in the country.
Step-by-Step DIY Headlight Installation
To finish the replacement safely and effectively, adhere to this methodical procedure:
1. Prepare Your Vehicle
After parking your vehicle on a level surface, turn off the engine and apply the handbrake. To reach the headlight housing, open the bonnet. Disconnect the negative battery terminal for extra security.
2.Locate the Headlight Housing
Headlights may be accessible from the engine bay or may require removing the front grille or bumper, depending on the vehicle. For details, consult your owner's manual.
3. Remove the Old Bulb or Assembly
-
Pull the lightbulb socket out of the headlight housing by twisting it.
-
To replace the entire assembly, remove the bolts that secure the headlight unit.
-
Take care not to damage the wiring.
4. Install the New Headlight
-
Make sure the new lightbulb clicks into position.
-
Use screws to hold the entire assembly in place when installing it.
-
Avoid using your bare hands to touch the bulb's glass because skin oil can shorten its lifespan.
5. Reconnect Electricals
Connect the wiring harness to the new assembly or lightbulb. Verify again that every connection is tight.
6. Test the Headlights
Turn on your headlights and reattach the battery. Verify the correct alignment by checking the high and low beams.
Troubleshooting After Installation
As you are doing the installation on your own, you must not forget about the post-installation process.
You might still experience problems even after a proper installation. Typical issues include:
-
One headlight isn't functioning. Most likely a bad lightbulb or loose connector.
-
Check the wiring or fuses if both headlights are out.
-
Install CANbus adapters or anti-flicker resistors if your LEDs are flickering.
-
Dim light output. A malfunctioning alternator or dirty lenses could be the cause.
A diagnostic tool can assist in determining whether the problem is with the wiring or the sensor rather than the lightbulb.
Conclusion
Doing your own headlight replacement doesn’t have to feel intimidating. With the right tools, preparation, and a reliable DIY headlight installation guide, even beginners can upgrade their car’s lighting safely and affordably.
Choosing between halogen, LED, or HID lights depends on your car model and driving needs, but having the option to replace them yourself adds confidence and flexibility.
If you’re looking to buy car headlights in Australia, AutoLines Australia offers a wide range of quality headlights and accessories, ensuring compatibility and long-lasting performance. Upgrade today and drive with safety, clarity, and peace of mind.
FAQs
1. What tools are needed for a DIY headlight installation guide?
A DIY headlight installation guide typically requires screwdrivers, a socket set, protective gloves, a microfiber cloth, and new bulbs or assemblies. For extra accuracy, many drivers also use a car diagnostic tool to check electrical issues.
2. How does a beginner follow a DIY headlight installation guide?
A beginner can follow a DIY headlight installation guide by preparing their vehicle, locating the headlight housing, safely removing old bulbs, installing new ones without touching the glass, reconnecting wiring, and testing beams step by step.
3. Is there a safe method in a DIY headlight installation guide?
Yes, safety begins by parking securely, switching off the engine, and disconnecting the battery before starting. Wearing gloves, avoiding contact with bulb glass, and double-checking wiring ensure a safe DIY headlight installation process.

